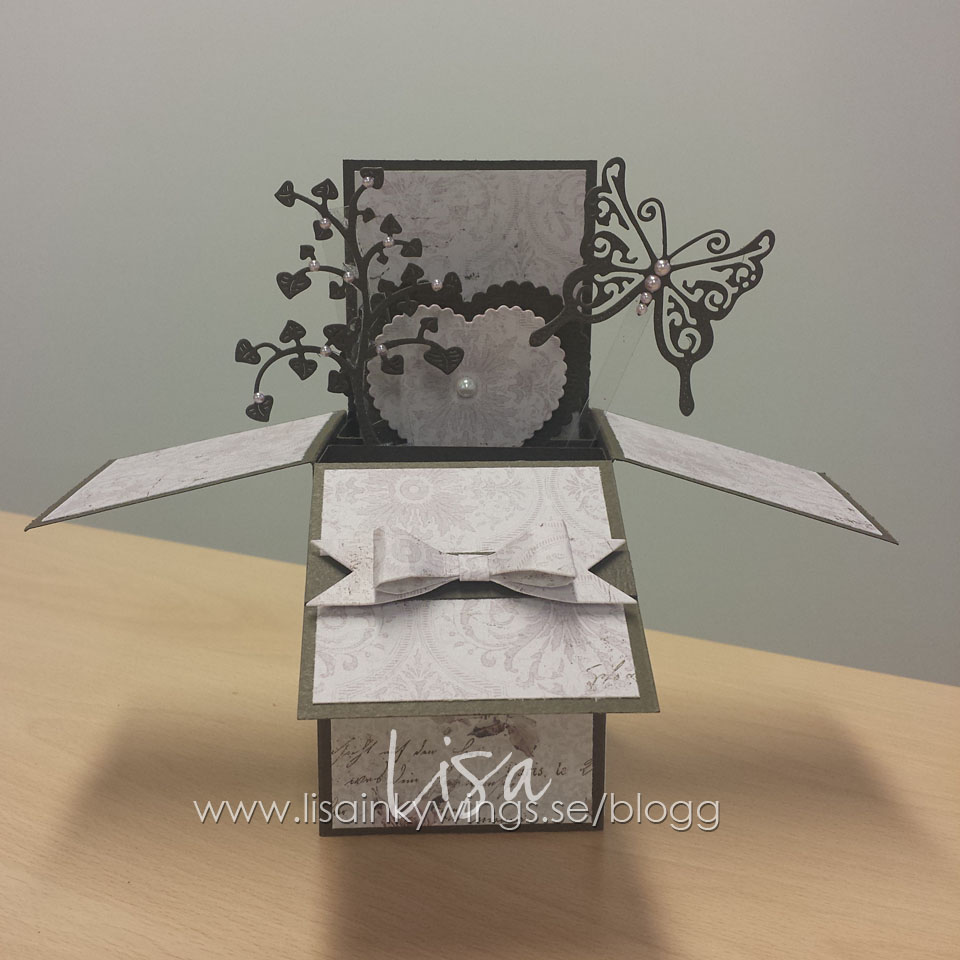
Tutorial på Box Card
Idag har jag gjort ett Box-Card för Engströms med Maja Designs nya härliga papper.
När jag ändå var igång passade jag på att fota lite så det blev en tutorial oxå.
Watch out for THREE blog posts today from me!
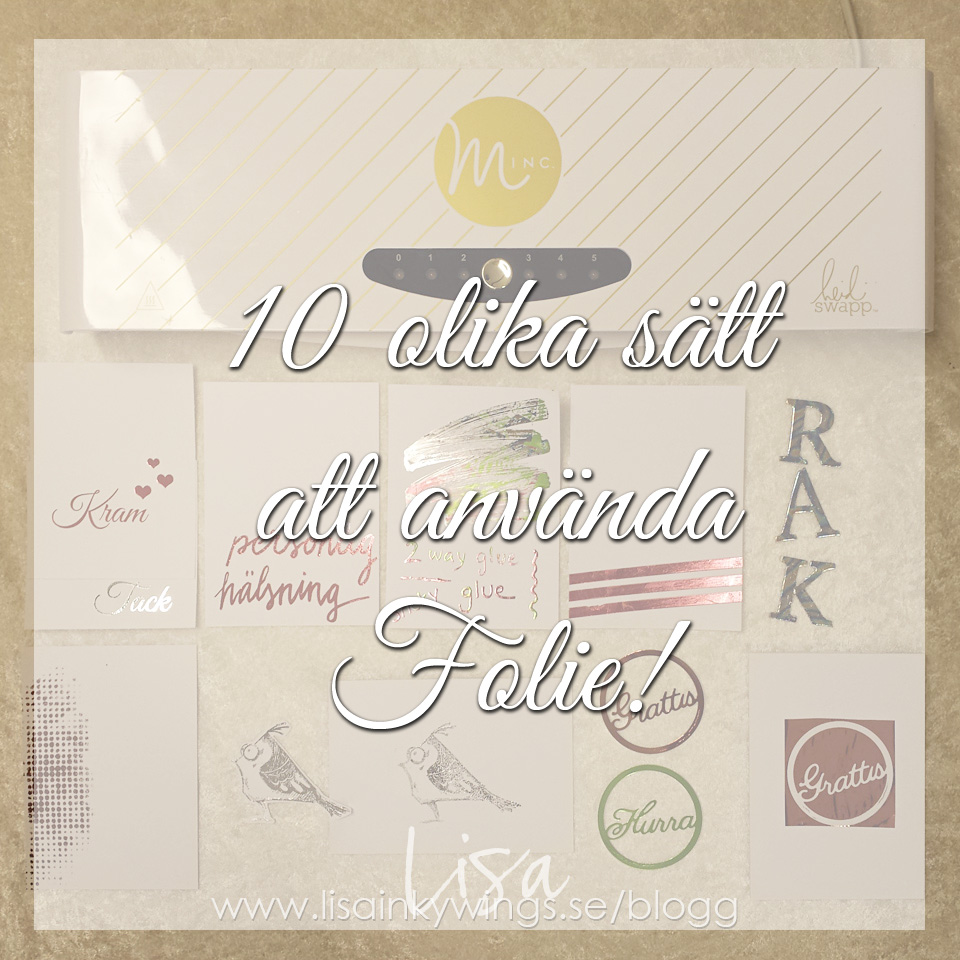
Today I’ve blogged a long toturial for Engströms about 10 ways to use foil. So far only in Swedish, but I’ll translate it as soon as I can. But I think you can figure out much of it just by the pics if you are curious!
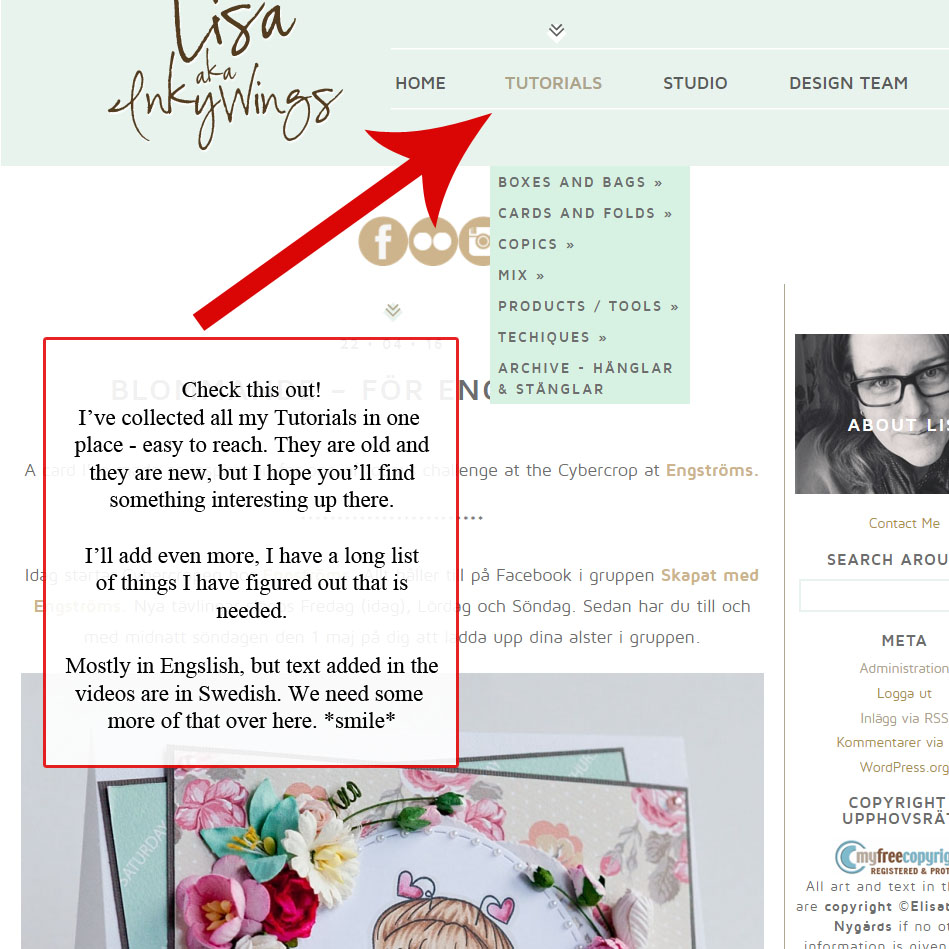
You’ll also find the tutorial at my blog HERE!
*************************
Idag har jag en tutorial hos Engströms om hur man kan använda Folie på 10 olika sätt. Hoppas det kan vara till stor inspiration för dig som inte kommit igång och testat ännu.
Den finns även på min sida HÄR!
Welcome to a Monday with Tips and Tutes over at Kraftin’ Kimmie Stamps.
Today I’m going to smoosh some ink, and I hope you’ll join in and have some fun.
Get ready, you don’t need much to play.
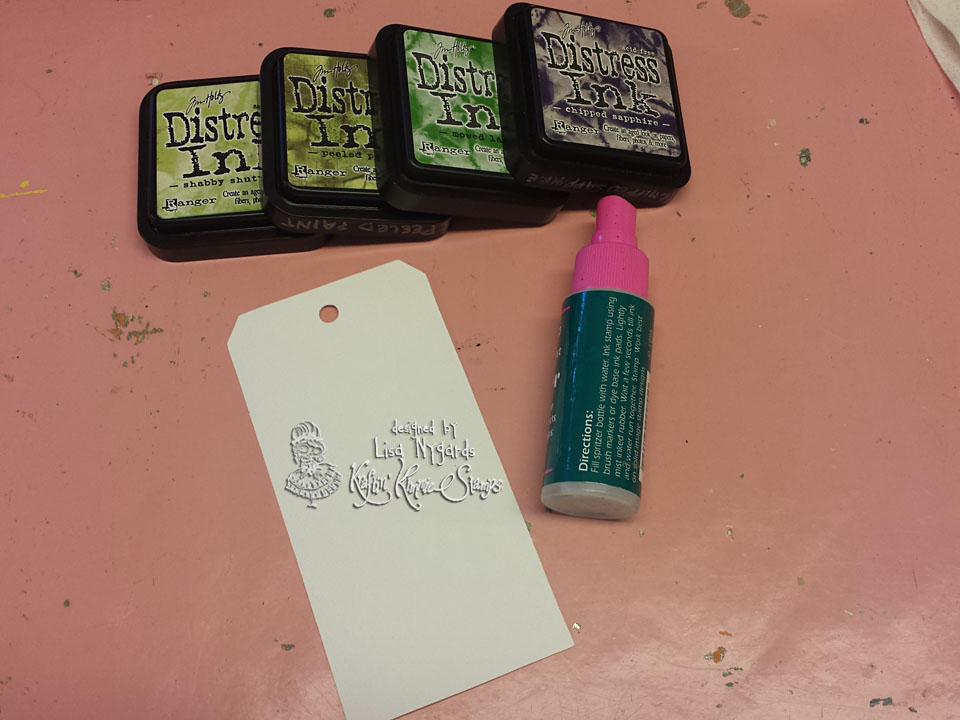
You need: 3-4 Distress ink pads, spray bottle with water and some paper.
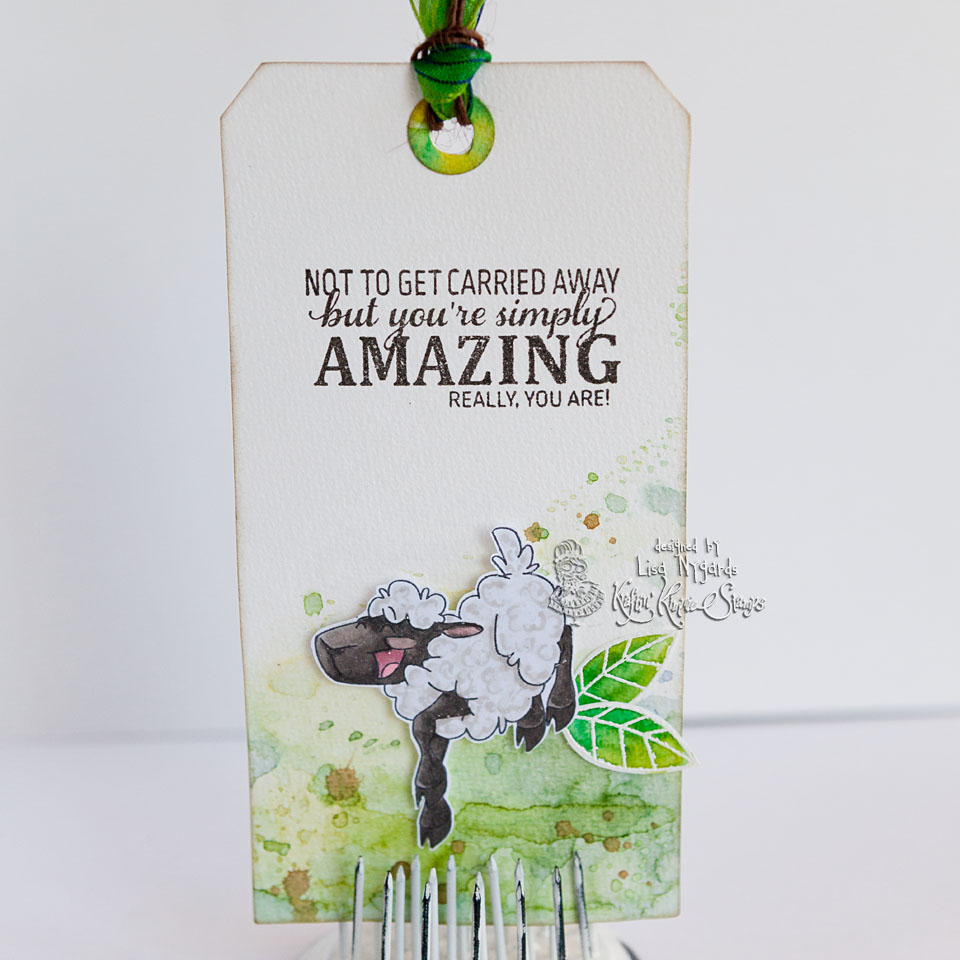
I have die cut a tag out of pretty cheap watercolor paper,
but I know this works on other kind of paper too, so try it out what you like best!
It’s good if it not get flimsy when it become a bit wet.
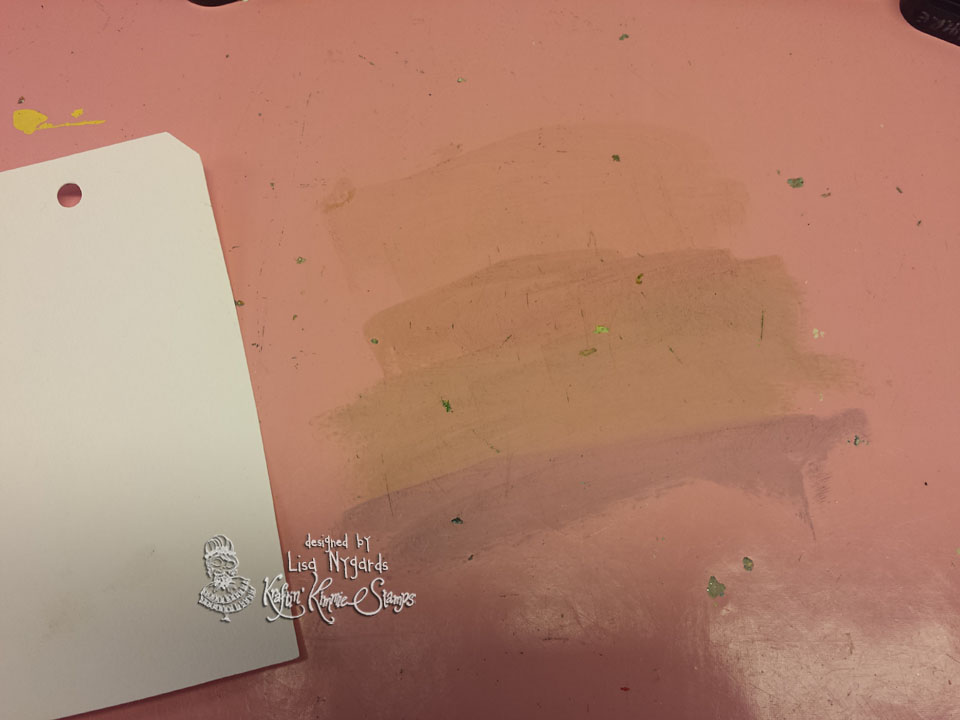
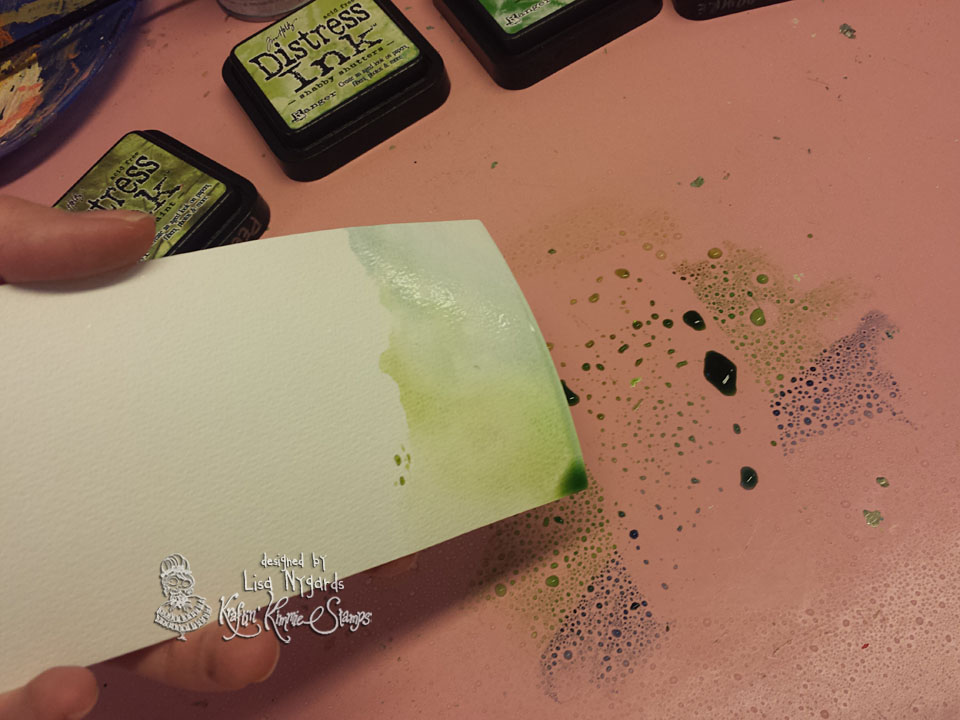
Scribble your inkpads on a plastic surface. I’ve used my craft teflon sheet.
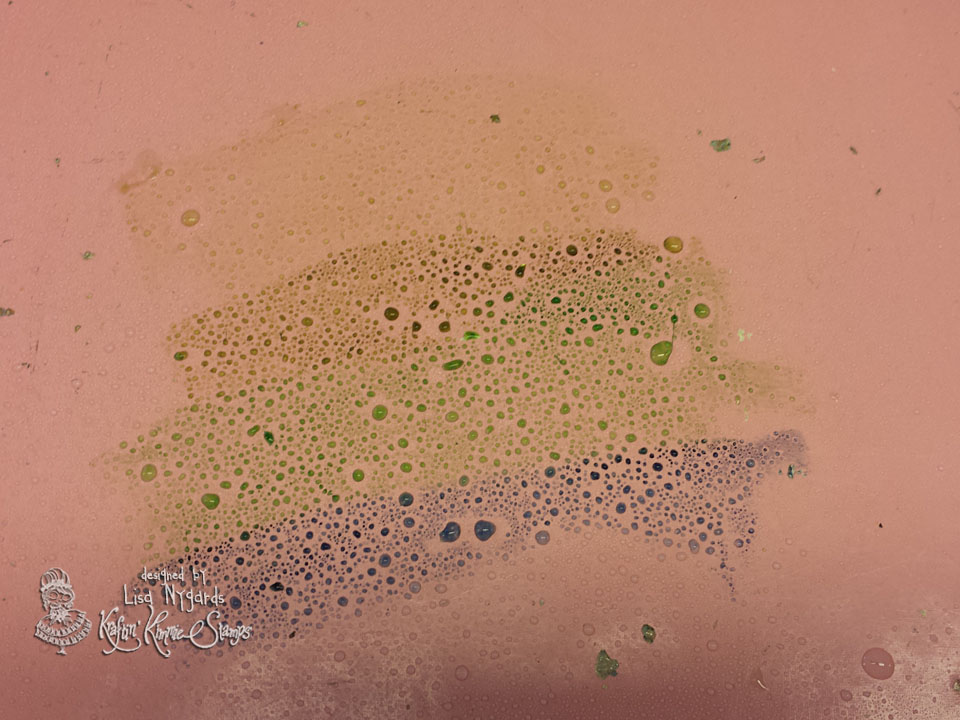
Mist water until you see the ink pearl.
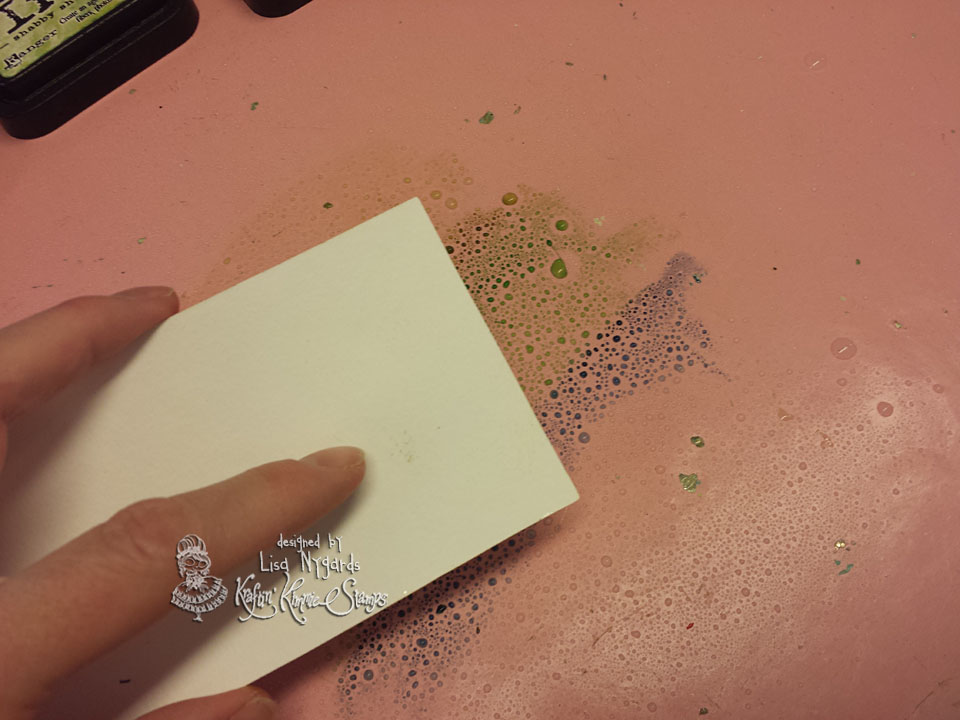
Smoosh your paper (tag) into the colors.
And have a look. Yum! I dried this with my heat gun.
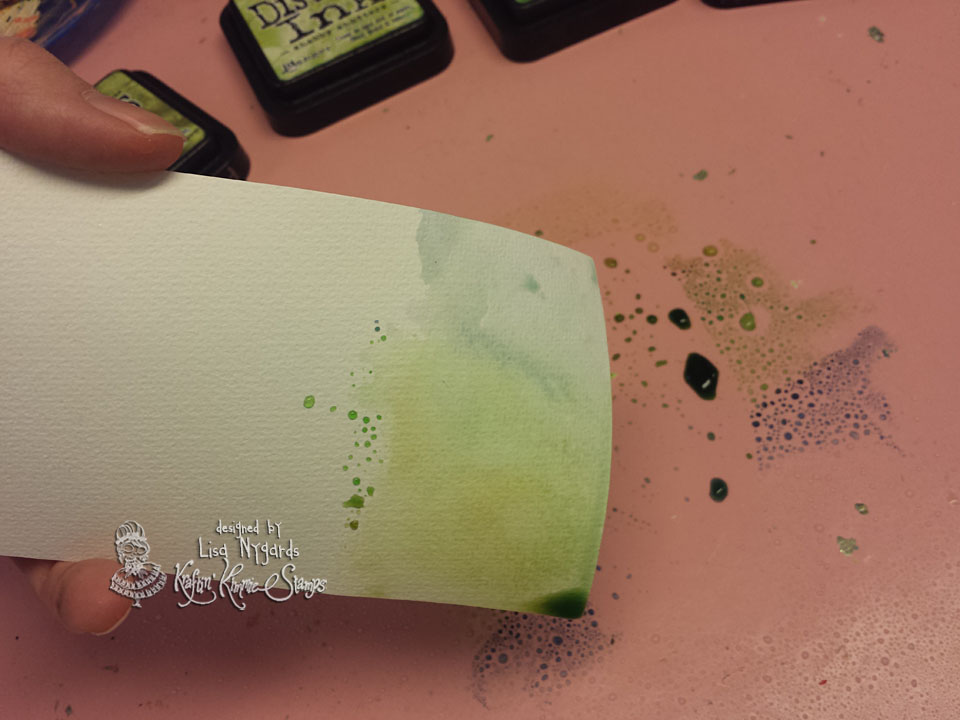
And smooshed again in the ink – and dried it.
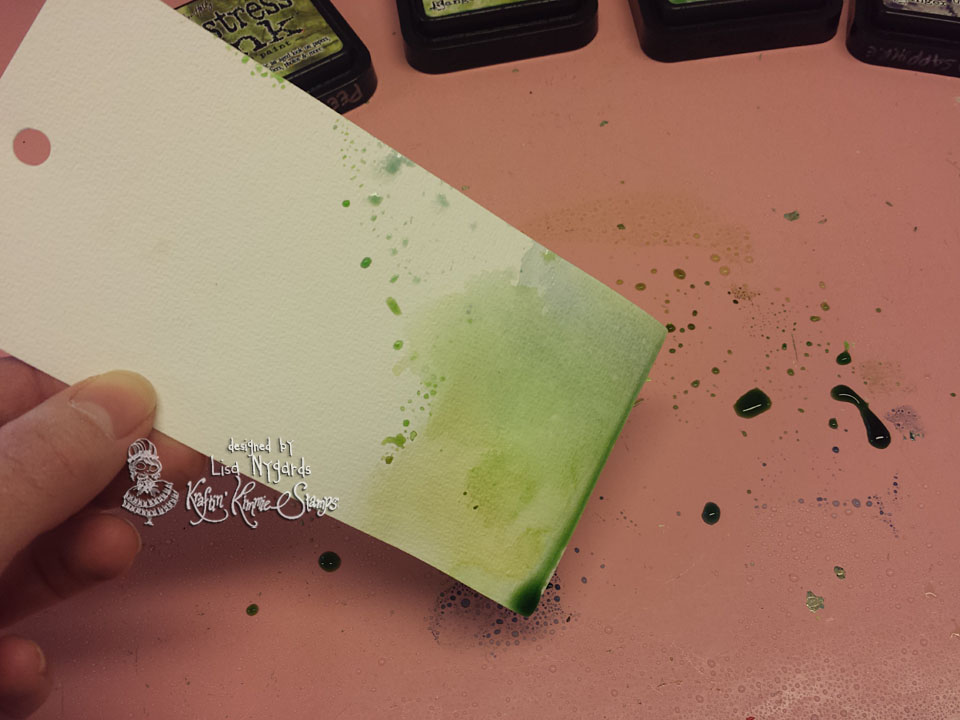
Smooshed and draged a few times more. You don’t have to dry it in between every time you smoosh, you can just try a variation. To get more “spots” try drying it and smoosh again.
This is what it looked when I was satisfied after a bunch of smooshing in the ink.
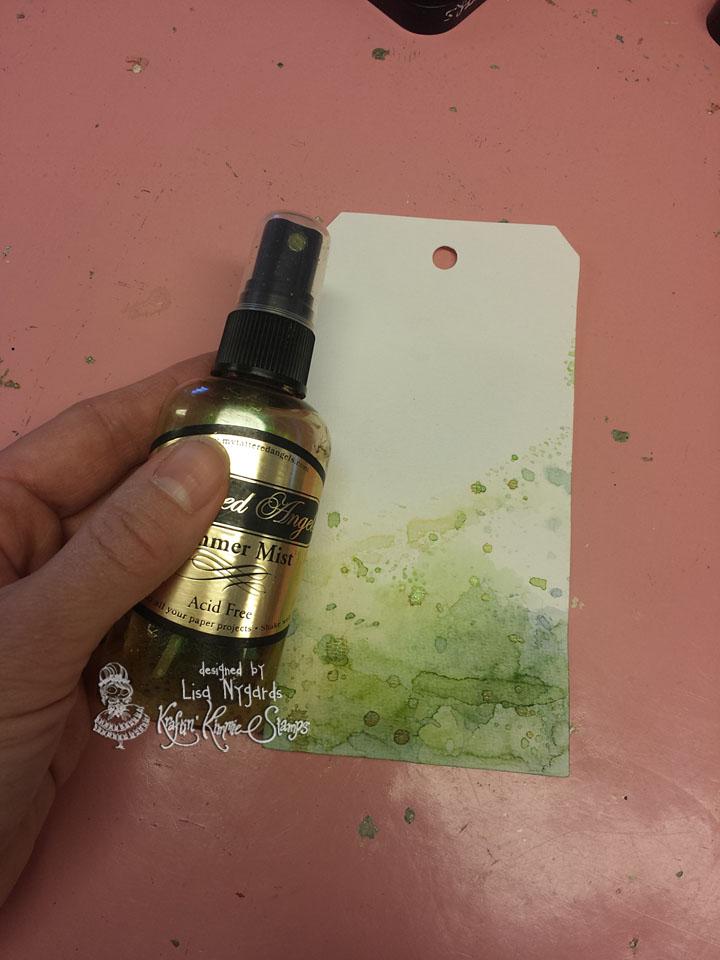
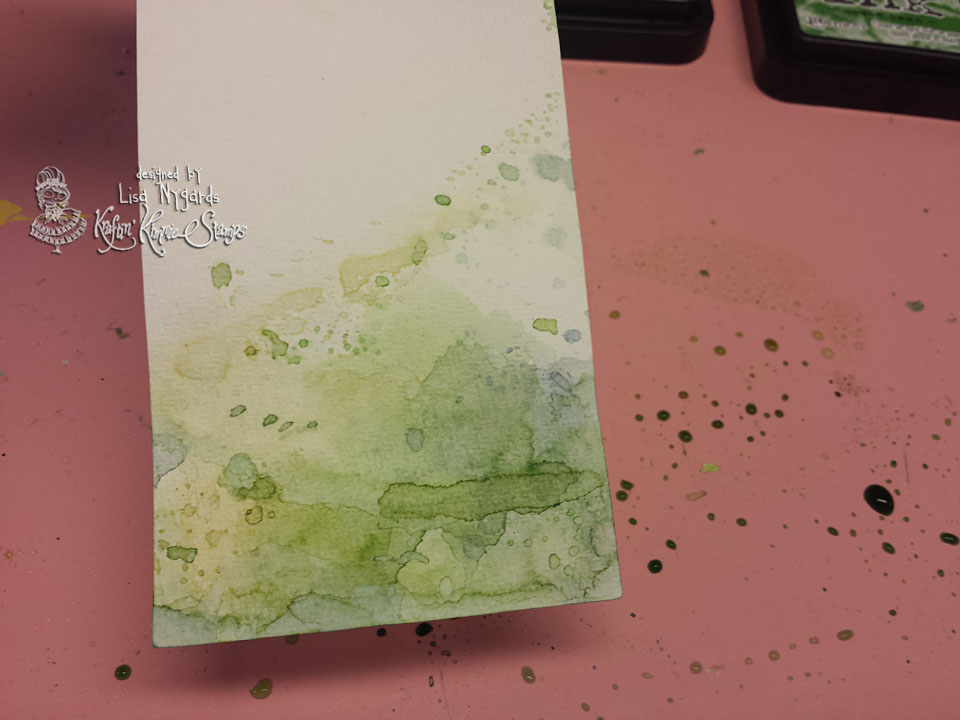
And I couldn’t hold back from my mist bottles so I splashed a few drops of Glimmer Mist over the colored part to add some shimmer. Unscrew the top and use the “straw” inside to drip or splash some ink randomly (Note – I don’t mist the color on).
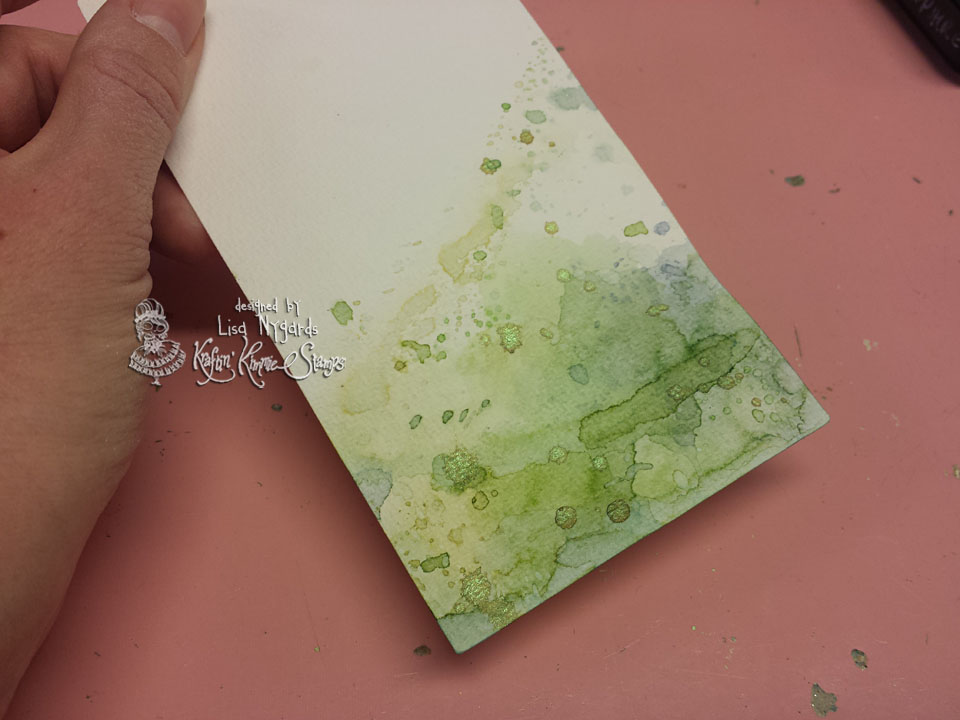
And this is the piece when I’m ready.
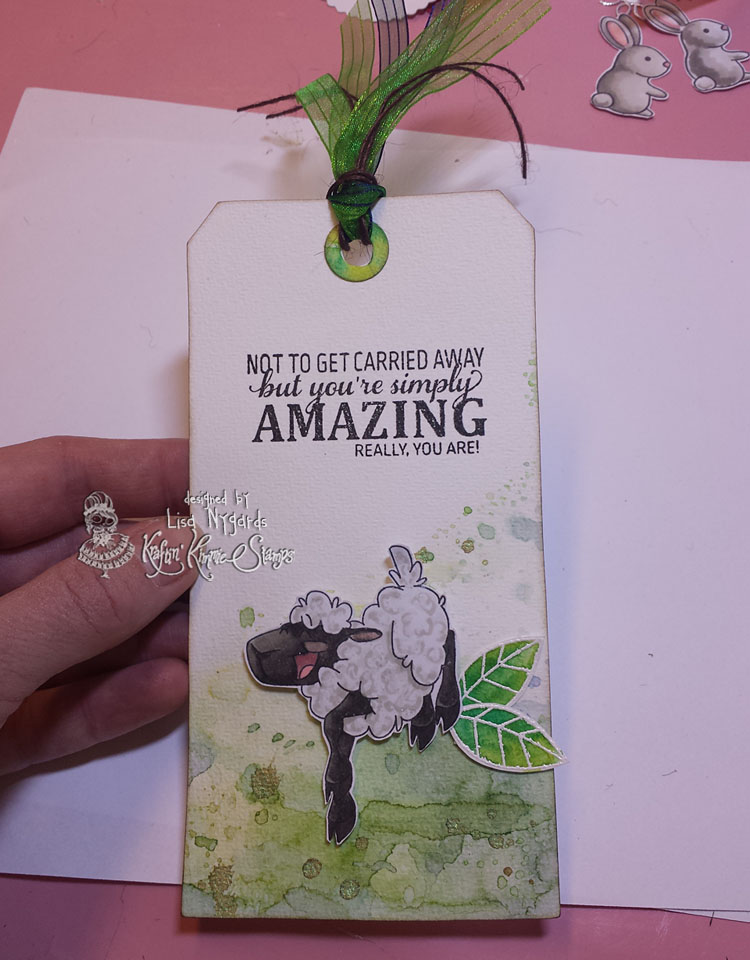
Sheep – Ewe are amazing
Leaves – Buds & Blossoms
Sentense – Love Story Sentiments
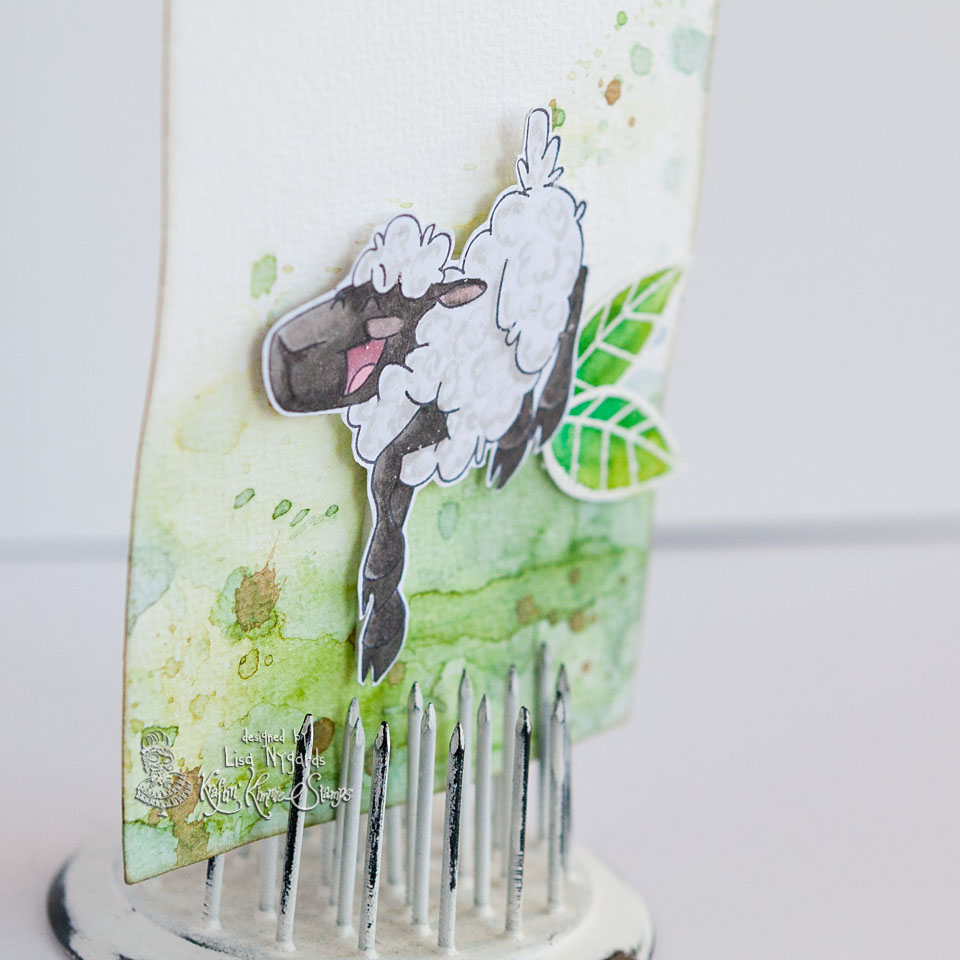
Sheep and leaves are mounted on 3D foam.
Hope you want to give it a try – it’s nothing but FUN FUN FUN!
*************************
Stamps: Kraftin Kimmie Stamps
Papers: Cheap watercolor paper
Tools: Tag (Tim Holtz)
Medium: Distress Ink & Glimmer Mist. (Sheep is colored with Copics, Leaves colored with watercolor)
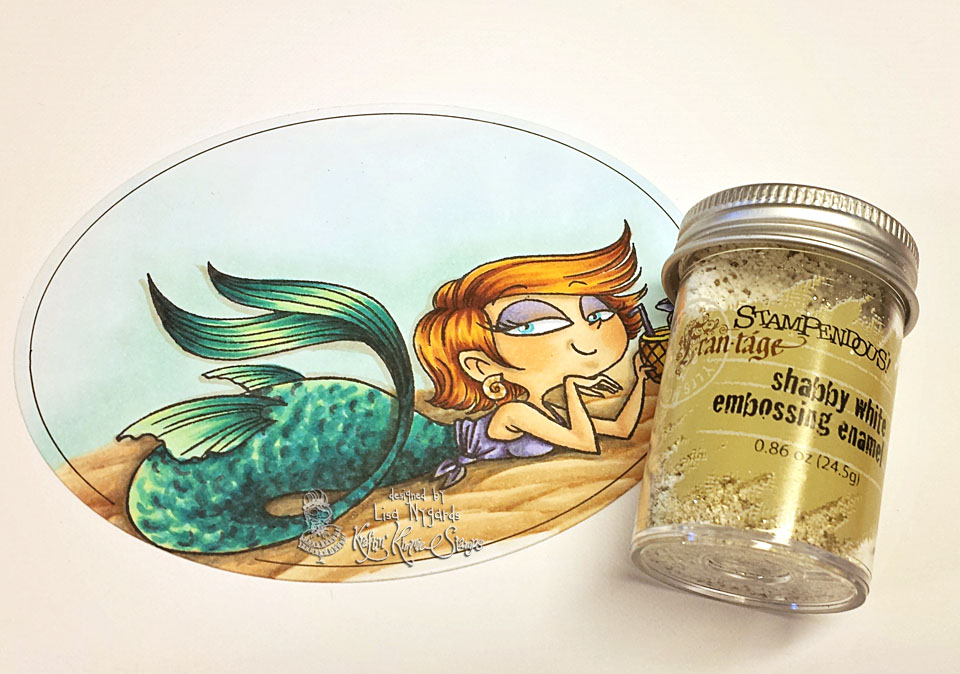
Today I have a little tutorial at Kraftin Kimmie Stamps. It’s about using Frantage / UTEE around your image.
More pictures and info in KKS blog.
*************************
Idag måndagsbloggar jag en liten tutorial hos Kraftin Kimmie Stamps. Jag visar hur man använder Frantage / UTEE omkring sitt stämplade motiv. Fler bilder och info finns i deras blogg.
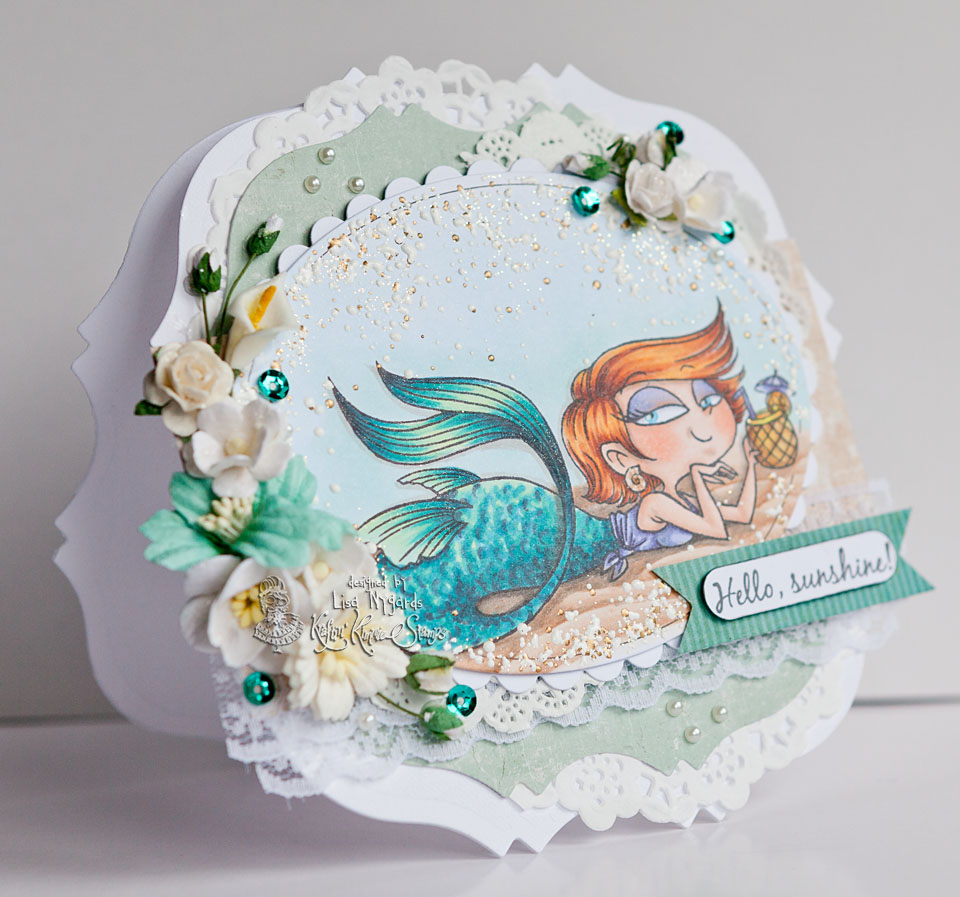
Stamps: Kraftin Kimmie
Papers: Bildmålarna
Embellishments: Flowers, Sequins, Bling, Lace
Tools: Word Window Punch (Stampin Up), Ovals (Spellbinders, Shaped Card (GoKreate)
Other: Frantage around image
Medium: Copics
Colors: Skin: E00-21-11-13-93, Hair: E15-18-YR04-07, Body: BG01-05-07-09-10-C09-YG00-11, Top: BV08-04-02